
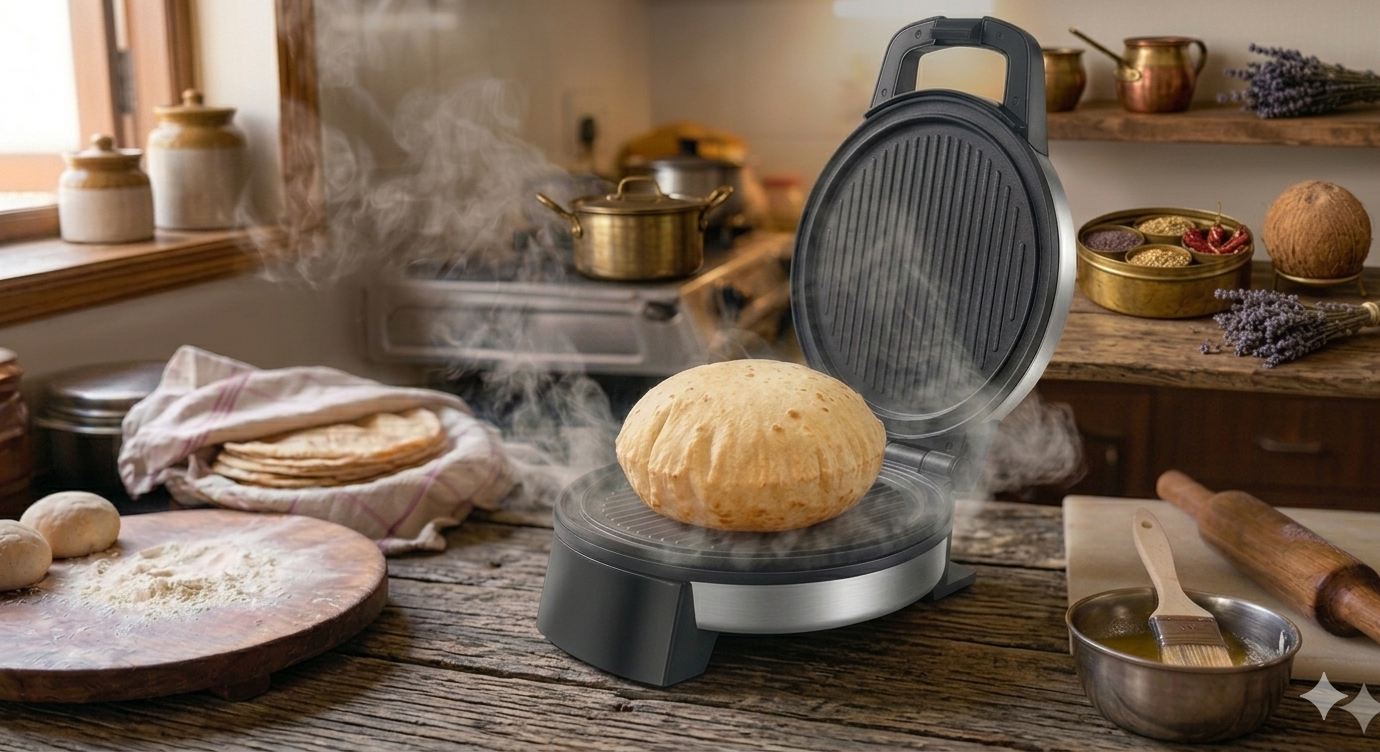

Making rotis in a roti maker
Master the art of perfectly puffed flatbreads with this comprehensive guide to using a roti maker. We break down the essential techniques—from achieving the ideal dough consistency to the precise "press-and-flip" timing—that ensure soft, fully cooked rotis every time. It’s the ultimate shortcut for enjoying fresh, homemade rotis on even your busiest days.
Equipment
- 1 large plate to knead the dough
- 1 branded roti maker
- 1 spatula to flip the rotis
Materials
- 2 cups wheat flour or gehu atta
- 1 cup water
- salt to taste
- 1 tsp oil
- 1/2 cup wheat flour for dusting
Instructions
- The secret to preparing the perfect rotis in a roti maker lie first in choosing a good branded roti maker and not a local make. I personally prefer the ones with a granite base and having its sides raised like that of a pan. It helps to keep the rotis from slipping out of the roti maker and also makes flipping the rotis easy.
- The next secret lies in the flour to water proportion. The correct ratio to use is 2:1, i.e., 2 parts of flour and 1 part water.
- Now knead the dough as you usually would. Do not forget to add salt to taste and 1 tsp oil to the flour before kneading it.
- Remember not to knead the dough too tight. This is very important for soft rotis that spread and rise well in the roti maker.
- The dough should be soft and pliable. A finger inserted in the dough should go right in and the impression should remain.
- Now cover the dough with a vessel or a damp cloth and rest it for at least half an hour. Preferred time would be 1 hour.
- After 1 hour switch on the roti maker and let it reach the desired temperature.
- Now pinch a small amount of dough and make a smooth ball between your palms .
- Apply some dry flour to it and place it on the plate of the roti maker and slightly flatten it. Be sure not to place the ball in the middle of the plate but slightly above closer to the hinges. This ensures the dough spreads well.
- Now press down the top lid with your right hand and close the down handle with your left hand simultaneously while applying slight pressure.
- Make sure not to apply too much pressure until you hear a squeaking sound. This will most certainly cause your roti to break up in the plate. Stop just short of the squeaking sound. Don't worry a little practice will make you perfect.
- Now open the plates immediately. Let the roti remain in place on the plate for about 10-15 seconds then flip it over for another 10-15 seconds.
- Now flip it back. You will now see bubbles rising on the roti. At this stage gently close the top lid only. This will cause the roti to fluff up like a phulka. Immediately open the lid and remove the roti to a plate and its done!
- This whole written instruction appears so long, but in reality a roti takes only about a minute to cook perfectly in a roti maker.
- I hope this tutorial was useful to you. Follow these instructions precisely and you will soon be making perfect rotis in under a minute in your roti maker. Happy cooking!.
Notes
Do not let the roti remain in the roti maker for too long once it puffs up to prevent it from becoming hard and crisp.